
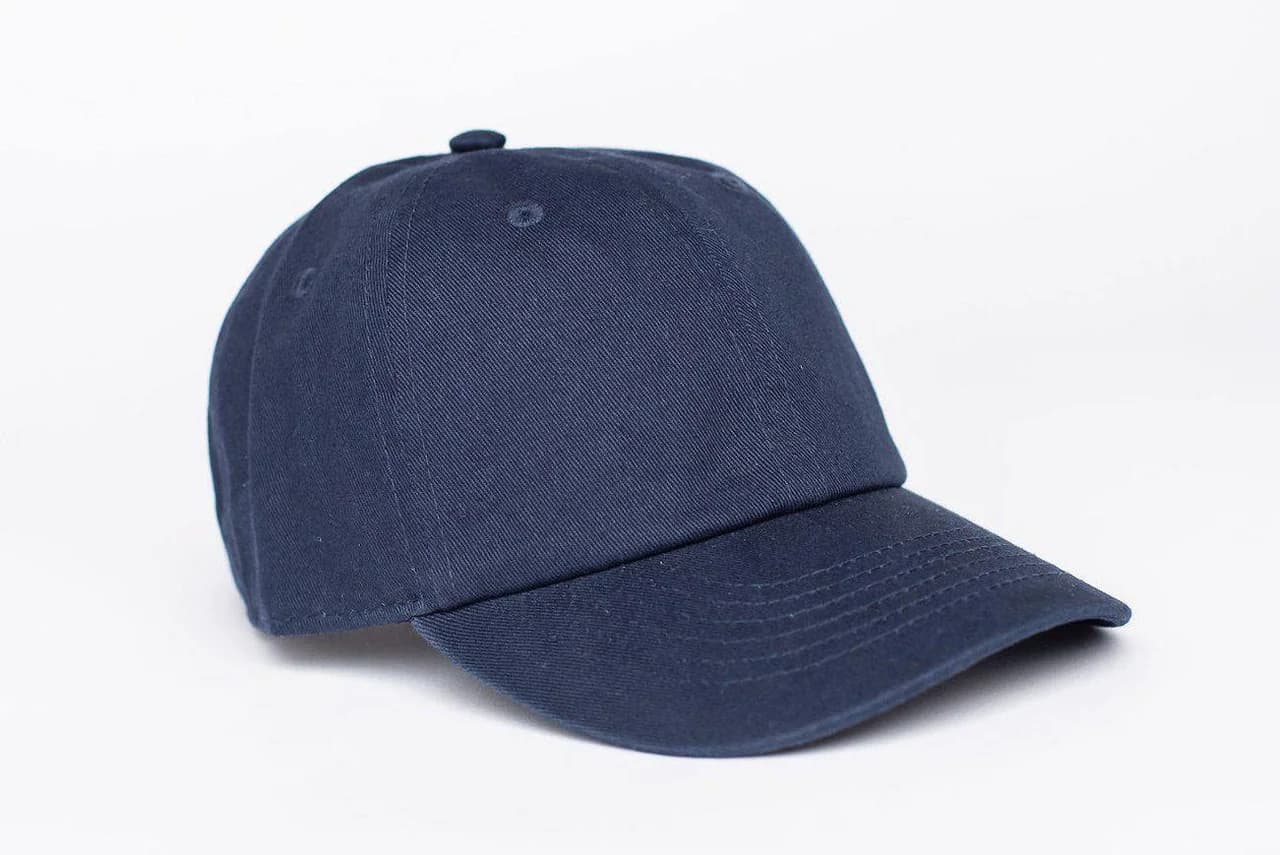
A trucker cap is a specific construction brief, not simply a baseball cap with a different name. Its front panels and mesh back need to work together in shape, colour and fit. A factory cannot reliably reproduce the intended silhouette from a front-facing logo mockup alone.
Before requesting a custom trucker cap quote, gather front, side, rear and inside views. Identify what must match and what may change. Our headwear manufacturing page covers caps and hats as a range; this guide focuses on decisions particular to a mesh-back cap.
Define the front-panel construction
Describe the panel arrangement, crown height and desired stiffness. Some designs use a prominent uninterrupted front, while others have a seam through the decoration area. That seam may affect embroidery positioning and the way the logo sits when worn.
State whether the reference has a foam-backed front or a woven fabric surface with supporting structure. These are not interchangeable specifications. Ask for the proposed construction to be identified in the quote and shown in the sample rather than accepting a generic premium front description.
Compare the profile on a wearer. A high front can look balanced on a table but feel too tall for the intended customer. Approving a close-up of the decorated panel does not approve the assembled crown.
Treat the mesh as a material choice
Specify mesh colour, openness, stiffness and surface feel. Consider how it meets the front panel at the seams and whether the inside edges feel comfortable against the head. The same colour name can produce visibly different results across mesh, fabric, stitching and plastic components.
Review those materials together under consistent lighting. Ask whether the sample uses the intended production mesh. A substitute can help assess broad shape, but it leaves the final appearance and feel unresolved.
Specify brim and closure together with fit
Record the brim length, width and curve using a consistent reference. A flat photograph can conceal how strongly a brim is curved. Show both the side profile and the underside, including its colour and stitch lines.
For an adjustable snap closure, agree the useful adjustment range, fastening feel and attachment finish. Check the back opening at several settings. Do not describe a cap as fitting everyone without evaluating the intended range. A closure can tighten the opening without making an unsuitable crown comfortable.
| Part | Sample question |
|---|---|
| Front | Does the crown hold the intended shape without excessive pressure? |
| Mesh | Are seam edges comfortable and colours coordinated? |
| Brim | Does the worn curve match the approved reference? |
| Closure | Does it fasten securely across the agreed settings? |
| Sweatband | Is the join neat and comfortable against the head? |
Prepare embroidery for the real front surface
Provide vector artwork where available, plus dimensions and thread-colour references. Discuss fine text, outlines and densely filled areas before digitising. Ask how the artwork will behave over a centre seam or on a foam-backed surface.
If considering raised embroidery, read the 3D puff embroidery guide. Raised decoration needs suitable artwork and a compatible construction; it should not be substituted automatically for flat stitching. Approve a stitched sample at the final size and check its backing from inside the cap.
Review a packed sample, not just the cap
Headwear can lose its intended shape through unsuitable packing. Confirm how caps nest, whether decoration rubs against another item, and how the brim is supported. Ask to see the agreed packing arrangement before signing off the bulk order.
The order record should identify the exact sample revision, front material, mesh, closure, decoration, labels and carton arrangement. Any replacement component needs review for both appearance and fit. Written approval of an updated sample is clearer than a message saying that the cap generally looks good.
What to send a trucker cap manufacturer
Send profile photographs, the panel layout, material direction, logo dimensions, brim reference and closure preference. List quantities for each colour combination, not only the total order. Include labels, packaging, delivery country and the date the goods need to arrive.
Confirm the minimum for that construction and decoration. KNAPMOD reviews enquiries from a general 50-piece starting point, but material and component requirements must be checked for the specific headwear order. Freight and import responsibilities should be stated separately from the cap price.
Key Takeaways
A clear trucker cap brief specifies front construction, mesh and worn profile together. Approve the decoration on the assembled product and verify the packing before bulk release. Use the custom caps enquiry form with your references to request a scoped quotation.
Knowledge is the starting point.
A clear brief is the next step.