
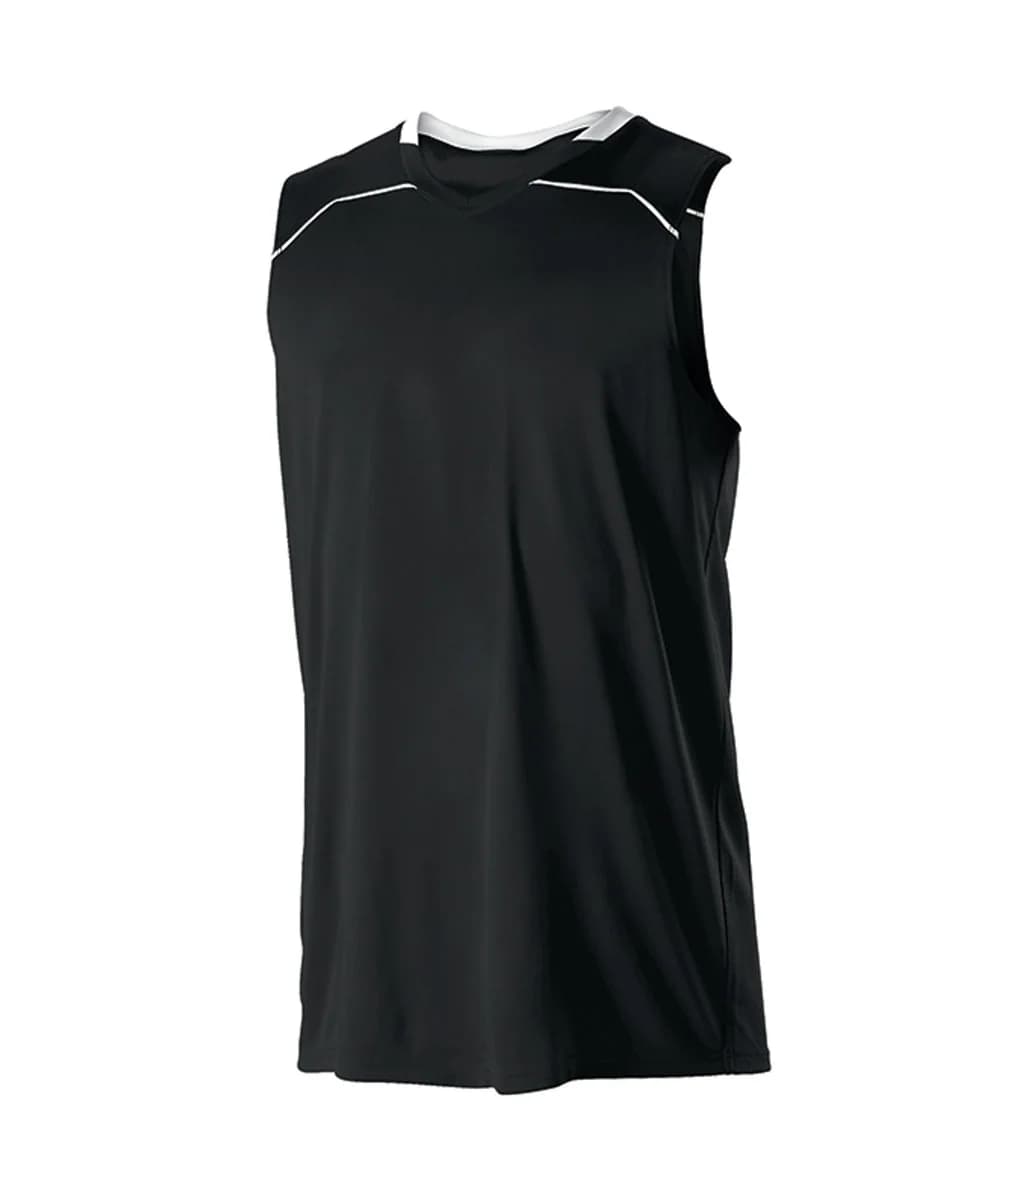
Personalised teamwear has two approval problems: the garment must be correct, and every player's details must be correct. A well-made jersey with the wrong number is still unusable for that order. Keep product development and roster approval connected but separate.
When contacting a team jersey manufacturer, provide the sport, intended wearer, garment list and delivery date first. Do not assume that a football jersey, basketball vest and training top use the same fit, fabric or decoration method simply because they share a club logo.
Use one controlled roster
Maintain a single spreadsheet or clearly structured table for the final order. Give each line an identifier so changes can be traced without relying on row position. Preserve player numbers as text where leading zeros are intentional.
| Field | Approval check |
|---|---|
| Line ID | Remains stable if the list is sorted |
| Player name | Exact spelling, accents and capitalisation |
| Printed number | Exact digits, including deliberate leading zeros |
| Garment size | Agreed manufacturer's size chart, not an assumed retail label |
| Garment variant | Home, away, goalkeeper or training version |
| Quantity | Explicit count for that personalised combination |
Avoid storing addresses, birth dates or unrelated player information in the production roster. The manufacturer generally needs the print and garment details, not a full membership record. Nominate one person to approve the final version and close the list before production.
Approve the fit using the actual kit
Choose a size chart and measurement method before collecting player sizes. Different brands can use the same letter size for different dimensions. Provide a fit reference or arrange samples where possible, especially when adult and youth sizes are combined.
Consider how the jersey will be worn: over a base layer, tucked in, with protective equipment, or as a loose training top. These uses affect the required ease and length. Approve neck and arm openings as well as chest size; uncomfortable openings will not be solved by changing the printed roster.
Separate artwork files from placement instructions
Supply the team crest, sponsor marks, names and numbers as clearly labelled files. Include physical dimensions and placement references for each garment variant. A front mockup alone may leave sleeve, back and short positions unresolved.
Confirm you have permission to reproduce club and sponsor artwork. Ask the organisation responsible for the kit to check any competition-specific rules for branding and numbers. Do not assume a manufacturer can certify compliance from a visual reference without the actual requirements.
Choose the decoration route for the material
Discuss fabric composition and artwork coverage before choosing the application method. Sublimation, transfers and embroidery have different material and construction considerations. A process suitable for one polyester jersey may not be appropriate for another fabric or component.
The sublimation printing guide explains the basic decision, while the panel printing comparison helps when artwork spans seams. Ask for the proposed construction and colour approval method to be recorded in the quote. A screen proof cannot establish the final feel of the garment.
Sign off garment and roster independently
Use two approval records. The garment record identifies fit, fabric, colours, construction, artwork dimensions and sample revision. The roster record identifies the exact personalised combinations and quantities authorised for printing.
Ask for clarification when a late substitution affects size, variant or player number. Sending a replacement roster without identifying changes makes mistakes harder to catch. Keep one final file name and a clear approval date rather than several files all called final.
Inspect and pack for distribution
Compare finished names, numbers and sizes against the approved roster. Group items by the agreed distribution method, such as player or squad, and label bags clearly. If a player has several garments, state whether those should be packed as a kit.
Set aside any spare or unpersonalised garments as separate lines. Discuss replenishment requirements early because a later small replacement order can have different practical costs or minimums. Do not promise players identical future shades or immediate replacements before confirming material availability.
Work backwards from the match date
Share the required arrival date, not just the season name. Allow for sample decisions, roster collection, artwork sign-off, manufacturing and shipping. Confirm the schedule for your actual order with the supplier; a general website production estimate is not a deadline agreement.
Key Takeaways
A controlled roster, an agreed size chart and separate approvals make a personalised jersey order easier to manage. Send the garment brief and quantity breakdown through the teamwear enquiry form, then confirm how final player data should be supplied before production begins.
Knowledge is the starting point.
A clear brief is the next step.