
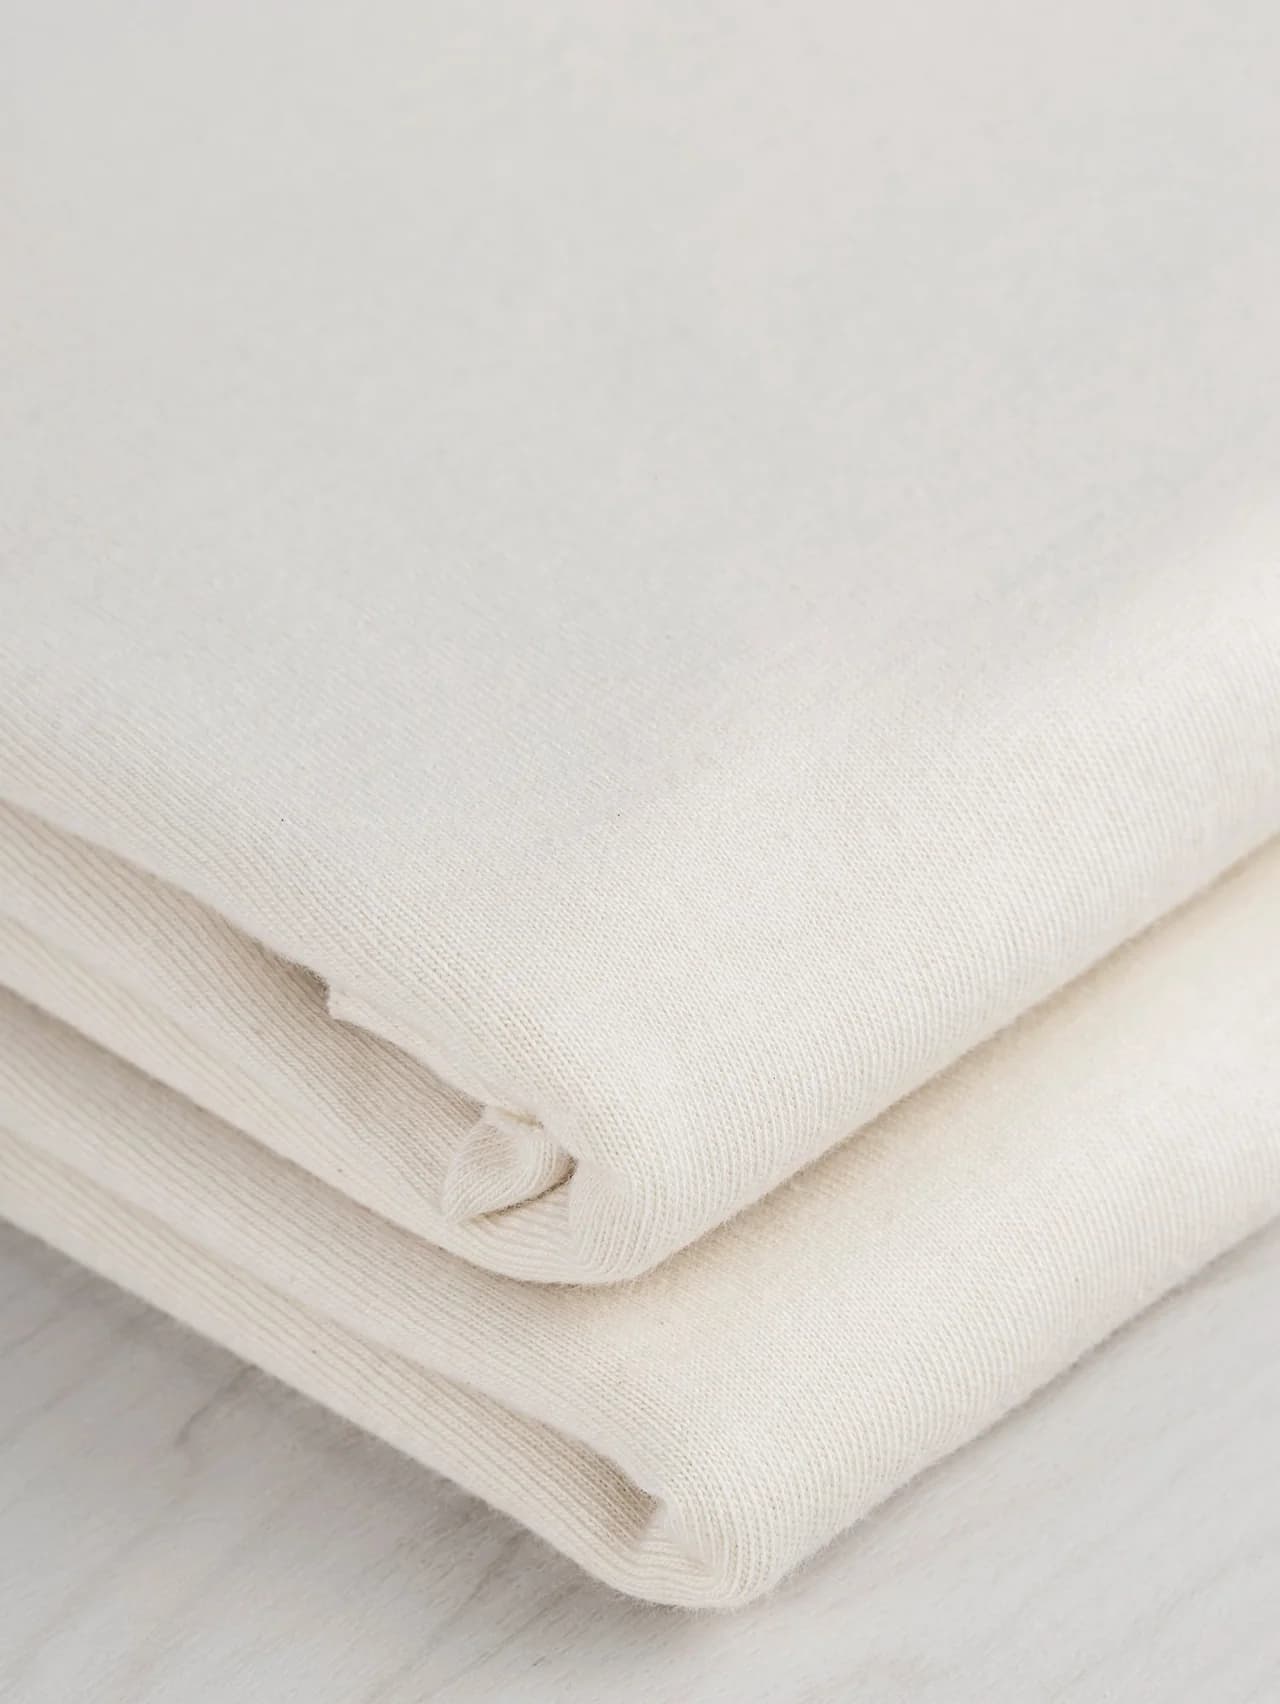
An oversized T-shirt is not simply a standard pattern made larger. Shoulder position, body width, length, sleeve opening and neckline need to work together. Likewise, heavyweight describes a material direction, not a complete quality standard.
If you are contacting a custom T-shirt manufacturer, a measured reference and a short specification will produce a more useful quotation than asking for the heaviest cotton available. This checklist helps turn a streetwear concept into decisions that can be sampled and approved.
Separate fabric weight from the intended hand feel
State composition and target GSM, but also describe the surface, drape and firmness you want. Two fabrics with similar weight may differ in yarn, knitting and finish. One may hold a boxy silhouette while another hangs closer to the body.
Request a material reference or swatch before treating a weight number as final. Explain whether the product is intended for a warm-weather drop, a structured year-round tee or another use. Read the fabric GSM guide if you need to distinguish fabric weight from finished garment weight.
Define the oversized silhouette with measurements
Start with one sample size and a drawing of its measurement points. A wider chest without the right sleeve and shoulder relationship can produce an unintentionally long or poorly balanced shirt. A cropped body is also a separate decision from an oversized chest.
| Measurement | Why it belongs in the brief |
|---|---|
| Half chest | Sets the main body width when laid flat |
| Body length | Separates cropped, regular and longer proportions |
| Shoulder width | Locates the sleeve join and intended drop |
| Sleeve length and opening | Defines the sleeve silhouette rather than just its size label |
| Neck opening | Controls the relationship between the collar and shoulder |
| Hem width | Shows whether the body is straight or shaped |
Supply a size range and agree how these measurements change between sizes. Enlarging every point by the same amount is not a substitute for an agreed grading plan. Keep your original fit reference available when reviewing the first pattern sample.
Make the neck rib a named component
The neck is often the most noticeable difference between two otherwise similar tees. Specify rib appearance, finished width, seam finish and the shape of the opening. Ask how the rib and body fabric behave together after the agreed care check.
Review whether the neckline lies flat, stretches comfortably over the head and returns to its intended shape. A thicker rib does not automatically solve recovery problems. Do not approve the collar from a close-up alone; inspect it on the complete garment and against the intended fit.
Test the agreed sample after washing
Record measurements before and after the agreed wash and drying method. Compare body length, width, sleeve shape and side-seam position. Use the same method when assessing a revision so you can distinguish a construction change from a different care process.
Avoid assuming that every cotton shirt is pre-shrunk or that a generic preshrunk description means no dimensional change. Ask what finishing was used and what acceptance criteria apply to your order. The sample and written specification should establish the agreed result; they should not rely on an undefined promise of zero shrinkage.
Position artwork on the oversized pattern
A logo centred on a small digital mockup may sit differently on a dropped shoulder or a wider body. Mark the print dimensions and distances from stable garment points. Specify whether artwork scales across sizes or stays at one physical size.
Ask for decoration on the chosen fabric and finish. Washed surfaces, large filled areas, fine lines and multiple placements affect production decisions. Compare screen printing and DTG where relevant, but approve the actual sample instead of choosing a process only from an online comparison.
Compare quotes against one version of the brief
Send the same composition, GSM direction, measurement chart, colour breakdown, artwork and packing requirements to each shortlisted supplier. Ask them to flag substitutions. A lower quote based on a lighter fabric or one print location is not a like-for-like saving.
For KNAPMOD, discuss the 50-piece starting order alongside the proposed style and colour split. Custom material sourcing can have requirements separate from sewing. Sampling, bulk production and transport are different stages, so share your required arrival date before assuming a dispatch schedule.
Key Takeaways
Fabric weight supports the product; it does not define the fit, finish or durability on its own. Approve the oversized pattern, rib and decoration together, then record the care-check result. Bring your references to the T-shirt quote form to discuss manufacturing for your label.
Knowledge is the starting point.
A clear brief is the next step.